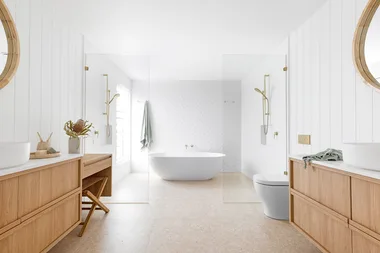
Choosing tiles for your kitchen and bathroom is hard enough, but deciding which pattern to lay them in – grid, herringbone, chevron – only adds to the overwhelm!
Depending on the shape, size and design of your chosen tile, there are myriad patterns you can use when you lay them. Choose to make the maximum impact on your finished surface, or have your tiles completely disappear from view.
If you’re looking to use a tile pattern other than a conventional “stretcher bond” or “brick wall” lay, consider it at length before you buy your tiles as this may impact the size and style you buy. Combining more than one shape or size will yield some interesting pattern options and introducing a blend of coloured tiles can multiply the possibilities even further.
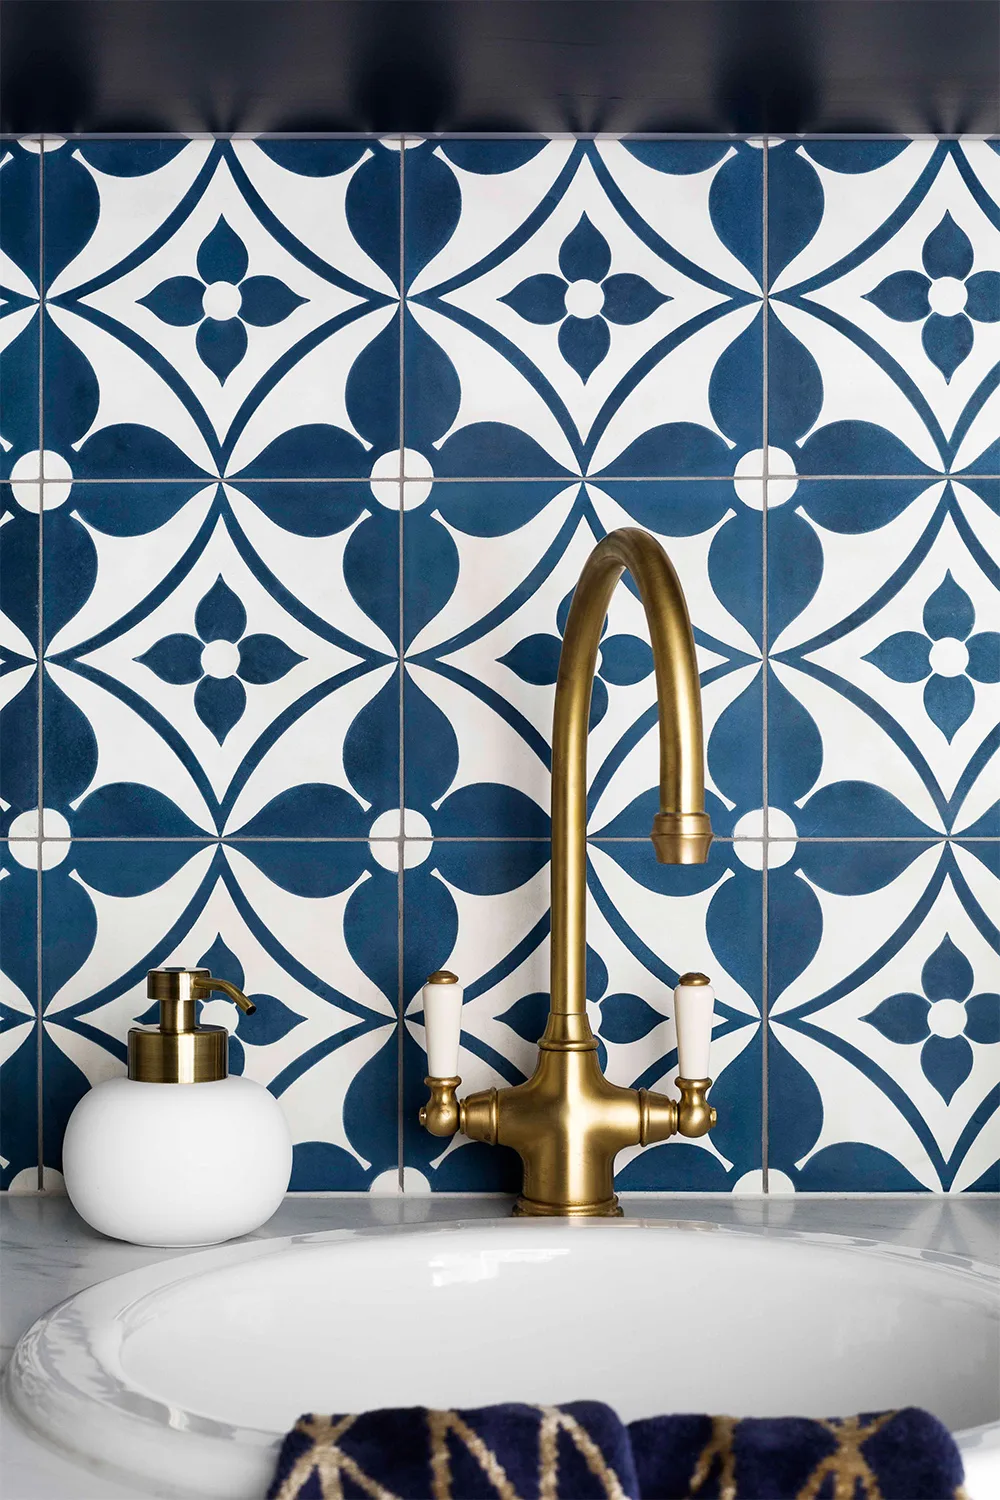
More complicated patterns might benefit from being laid by a professional, otherwise, there are plenty of tutorials online to show you how it’s done. Help is also at hand with clever apps now available to download that will take necessary measurements, calculate your pattern and estimate the number of tiles (and grout!) you’ll need to use.
Think outside the square by using traditional designs with modern colours or patterned tiles, starting with these classic tile patterns.
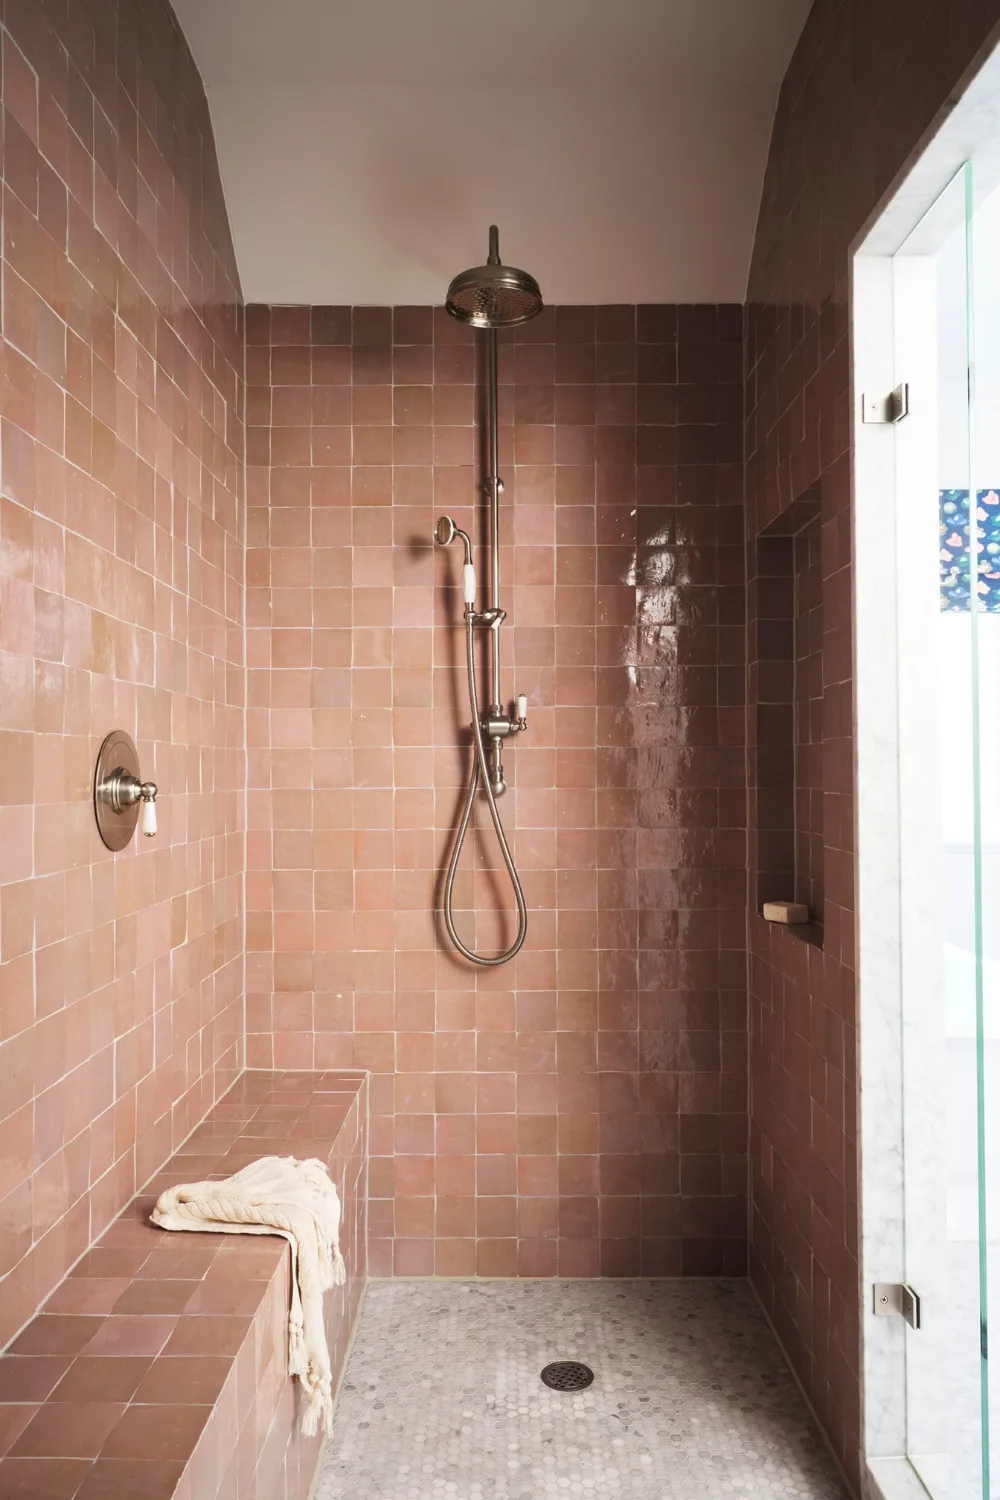
Types of tile patterns
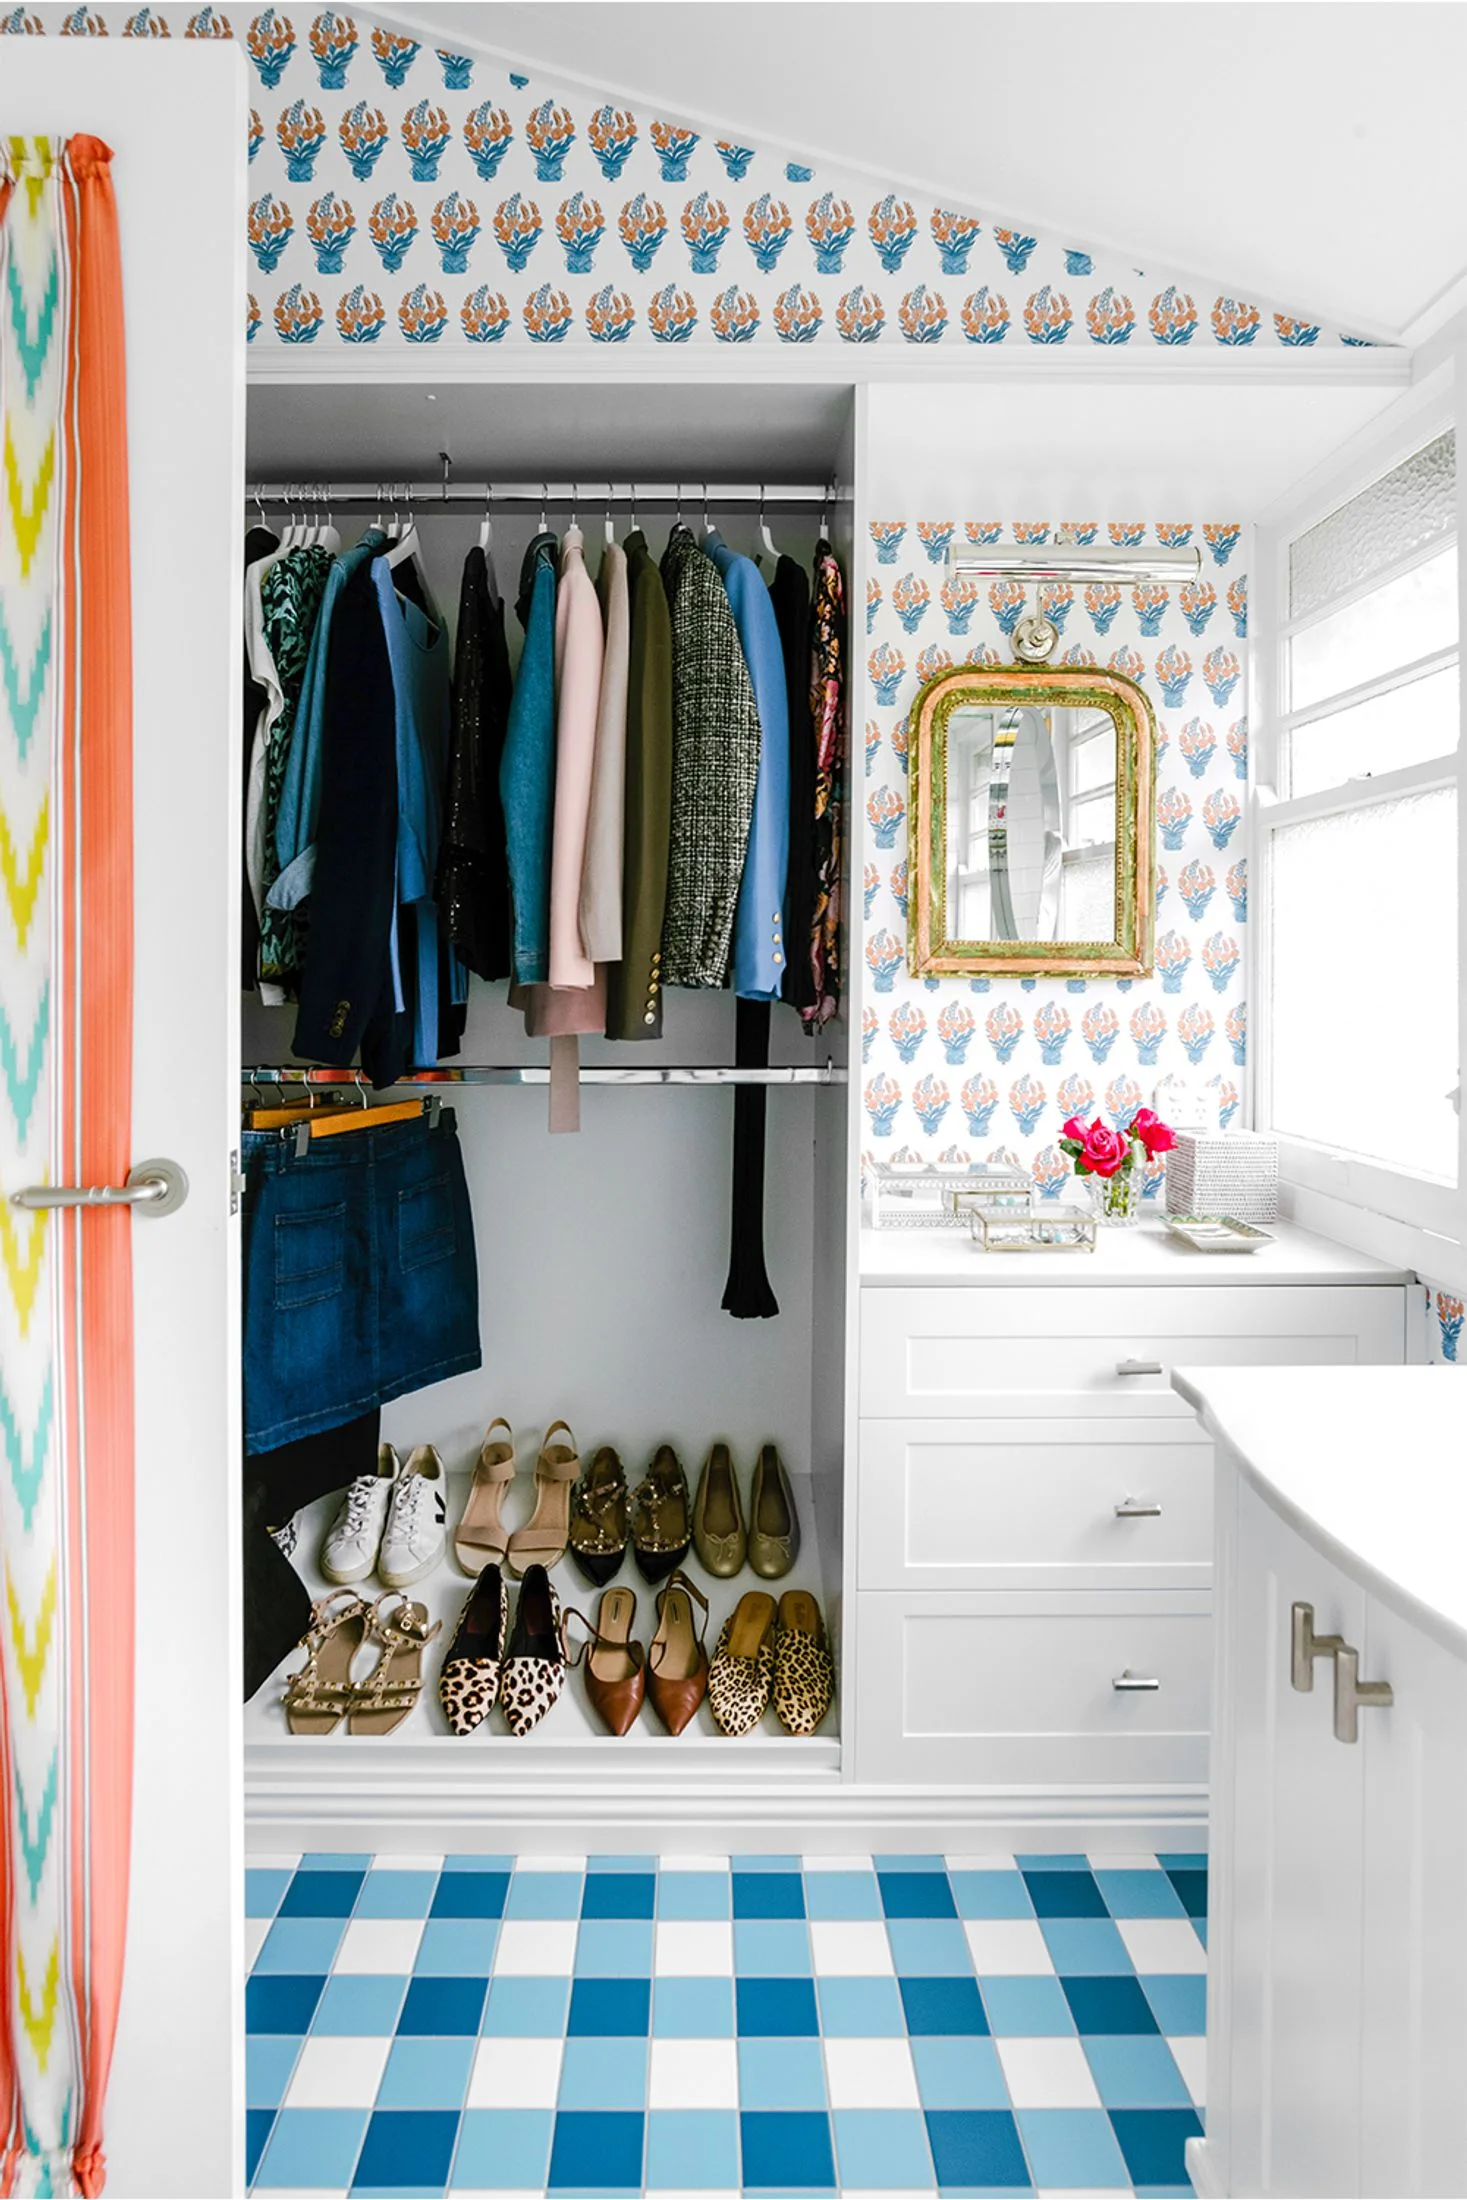
1. Straight lay (grid) – a classic use of square tiles and simple to install yourself.
2. Pinwheel (or Hopscotch) – similar to the French pattern, this uses 3 tile sizes: large square, small square and rectangle.
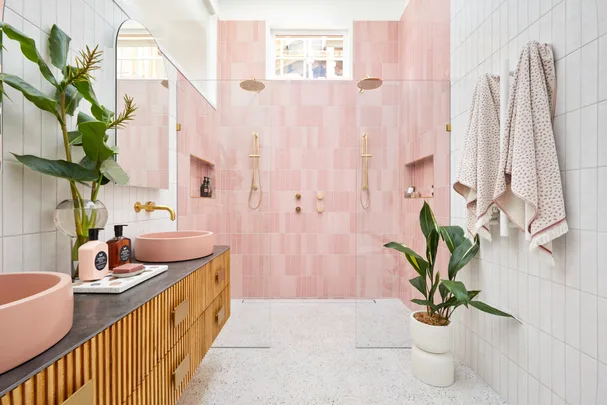
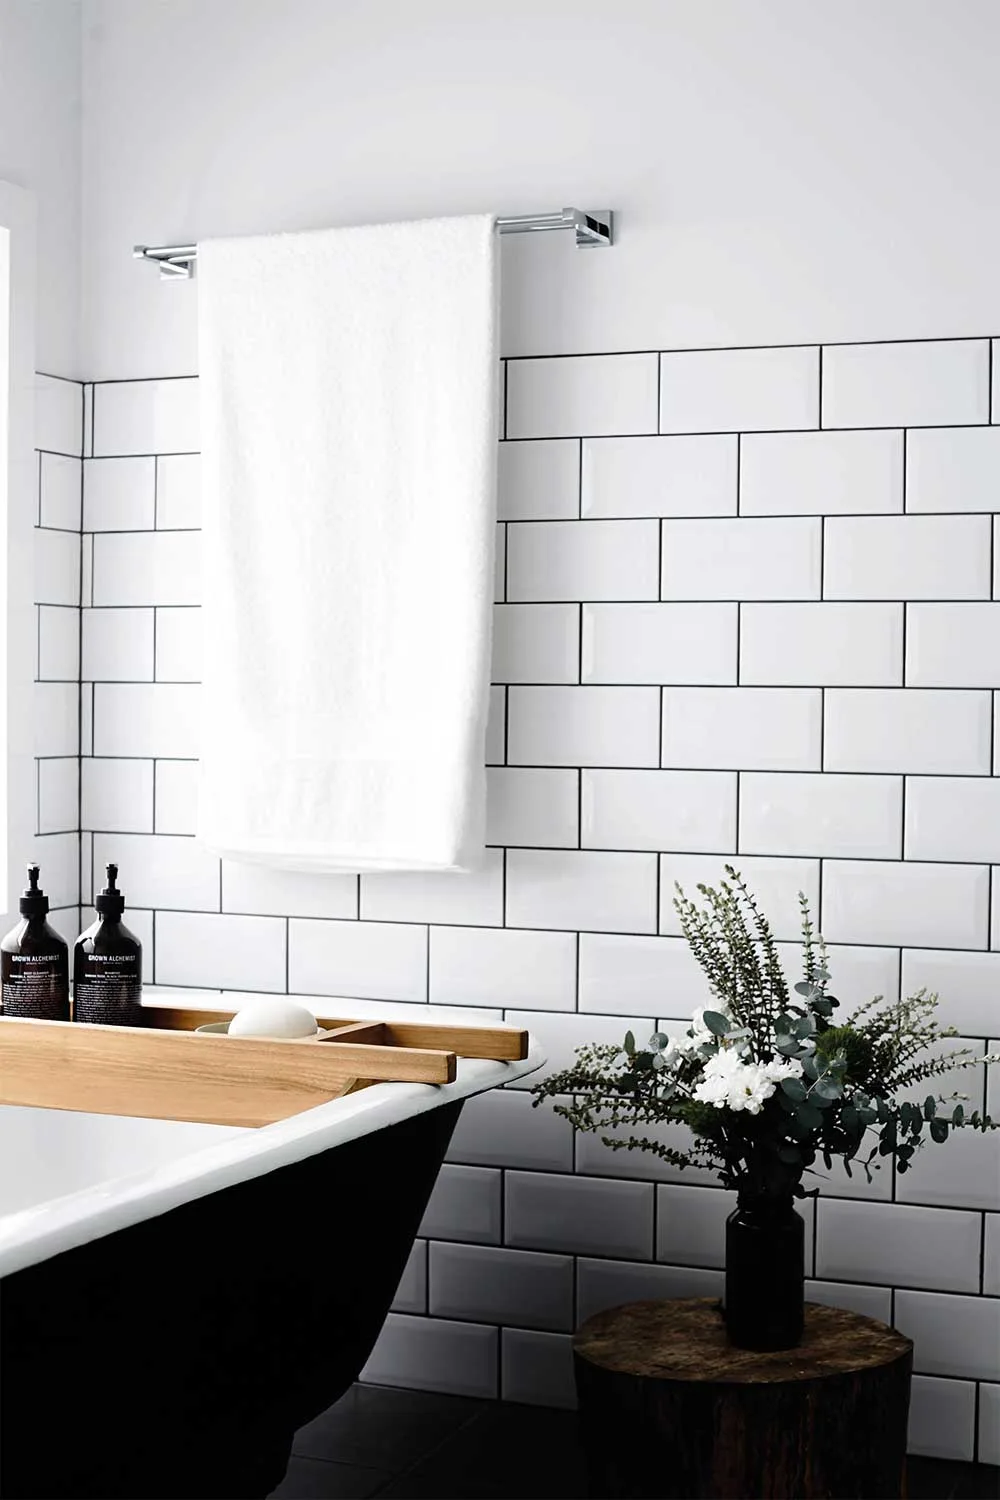
3. Stretcher or Running Bond/Brick wall – rows of tiles offset by exactly half the width of the next row. Easy to install, economical and flexible with little wastage. Can be done with square or rectangular tiles.
4. Herringbone – rectangular tiles are laid at 45 degrees to the wall to produce a v-shaped pattern resembling wood parquet flooring.
5. Chevron – similar to Herringbone pattern but uses parallelogram shaped tiles.
6. Cobblestone – uses 2 tile sizes laid in a grid of 9 to resemble heritage cobblestone paving.
7. Basketweave – pairs of rectangular tiles laid at 90 degrees to one another. Simple to achieve and a step on from a basic pattern. Looks completely different when two or three colours are used.
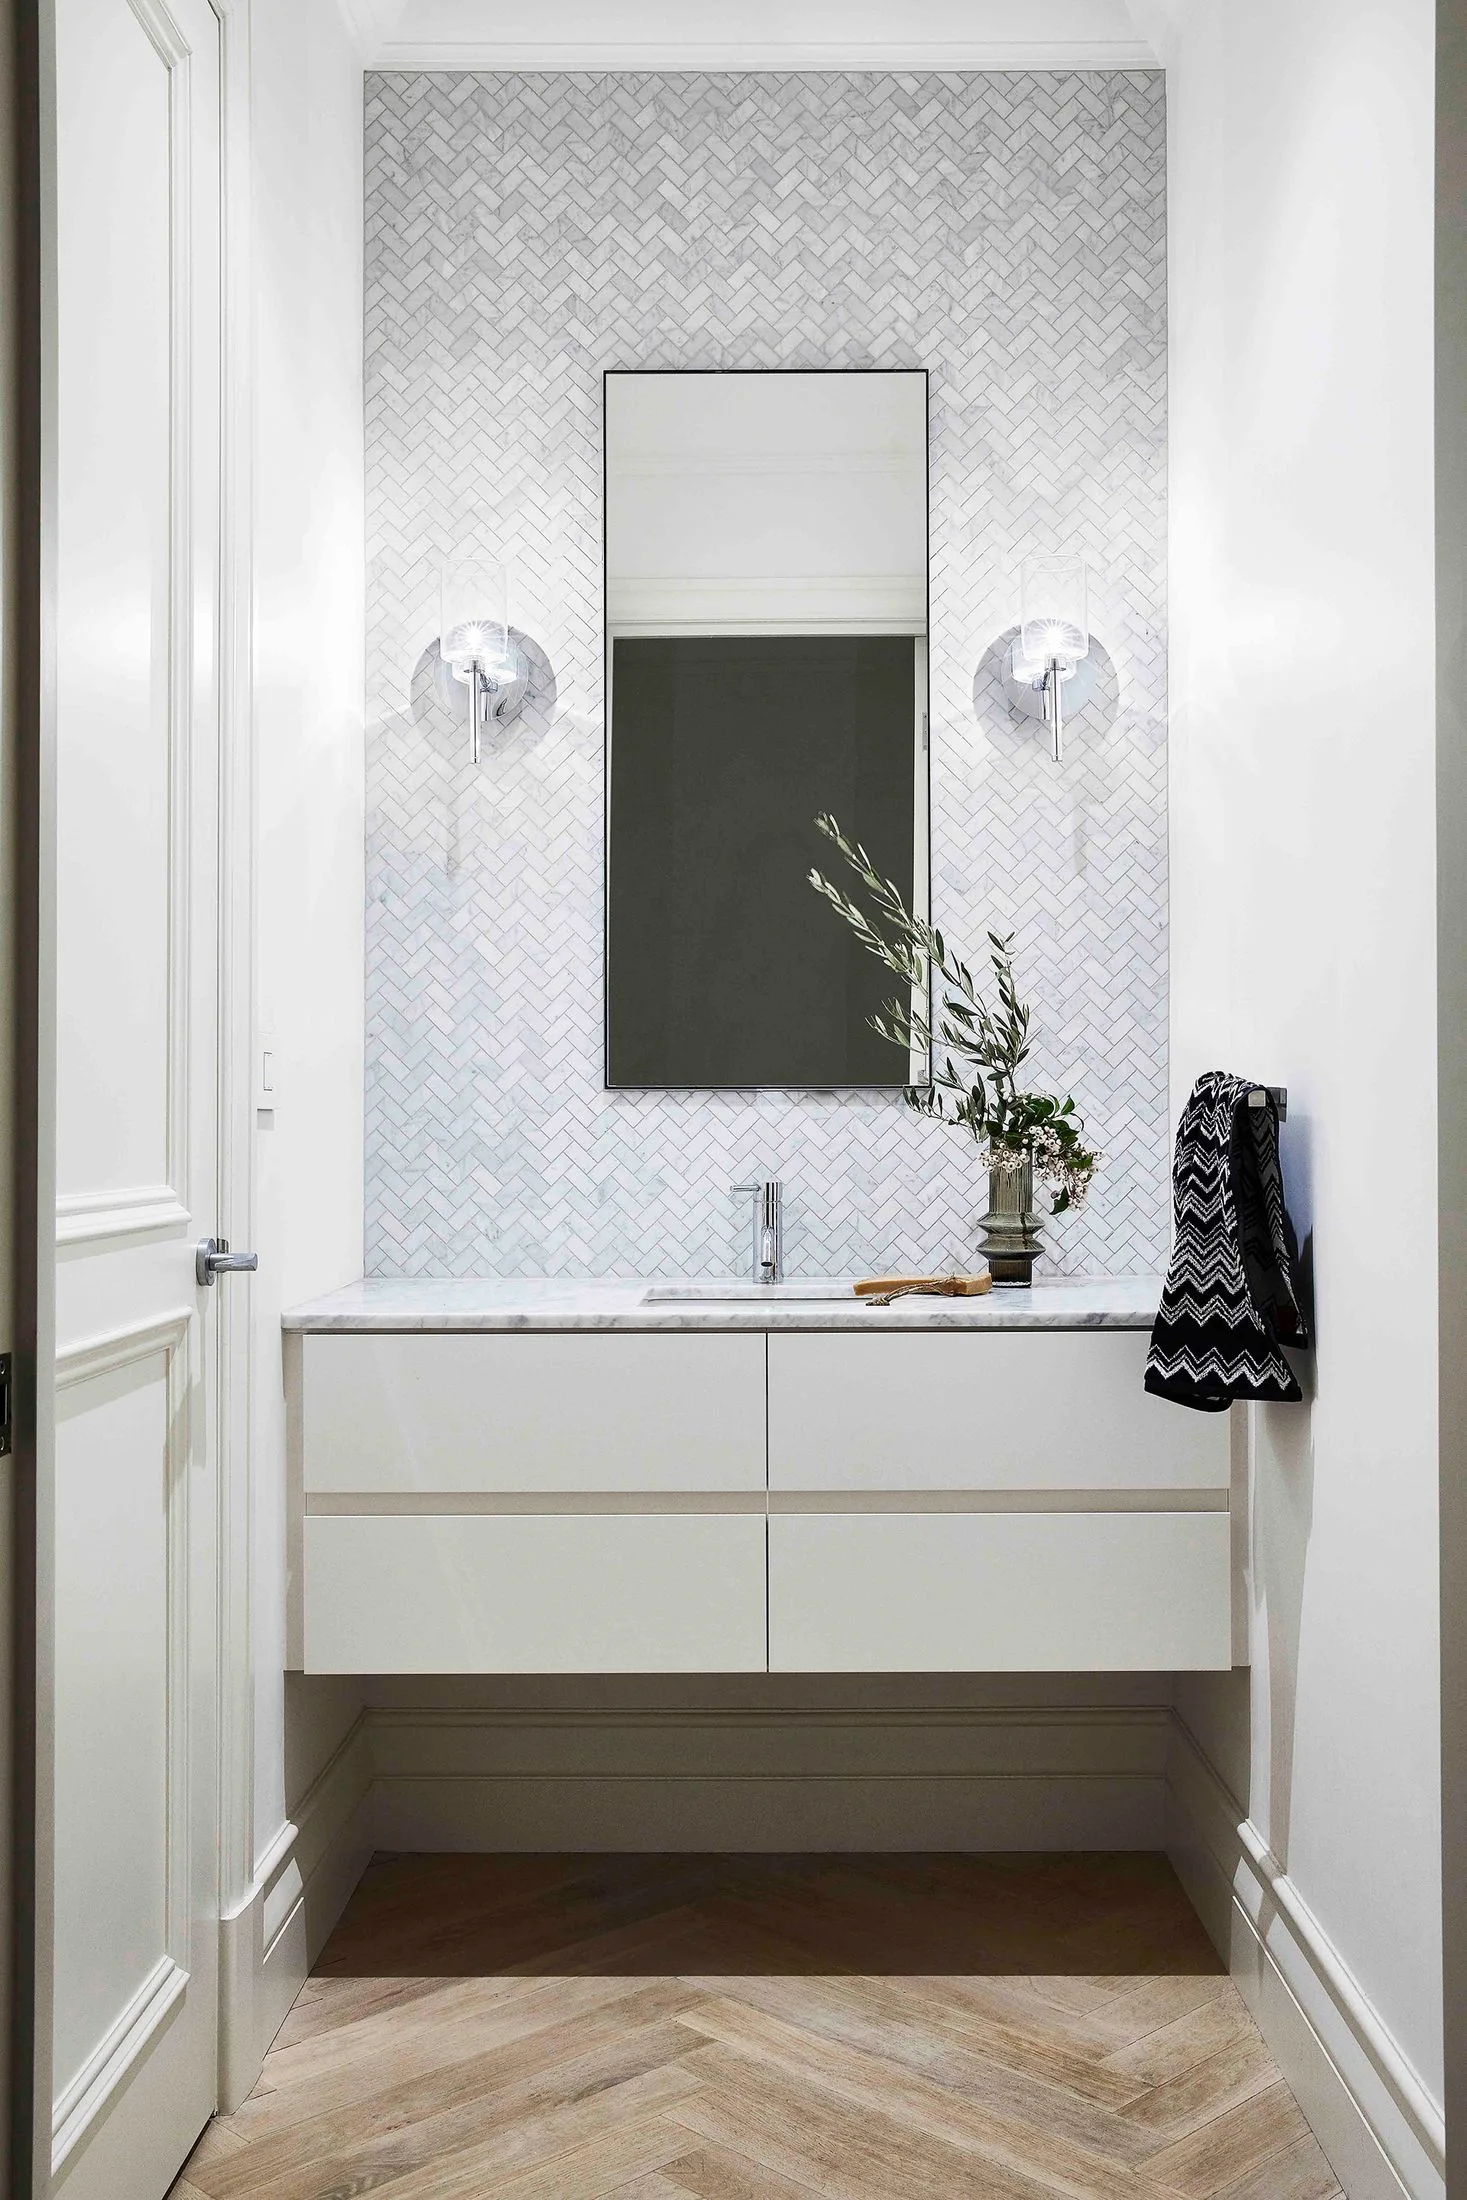
8. Harlequin – usually uses square tiles in a straight grid pattern but tiles are laid at a 45-degree angle to the wall.
9. Windmill – classic pattern using a combination of rectangular brick tiles around a central square tile. Looks great with contrasting colours. Often supplied ready-made onto mesh.
10. Tessellation – uses more than one shape to create a three-dimensional pattern.
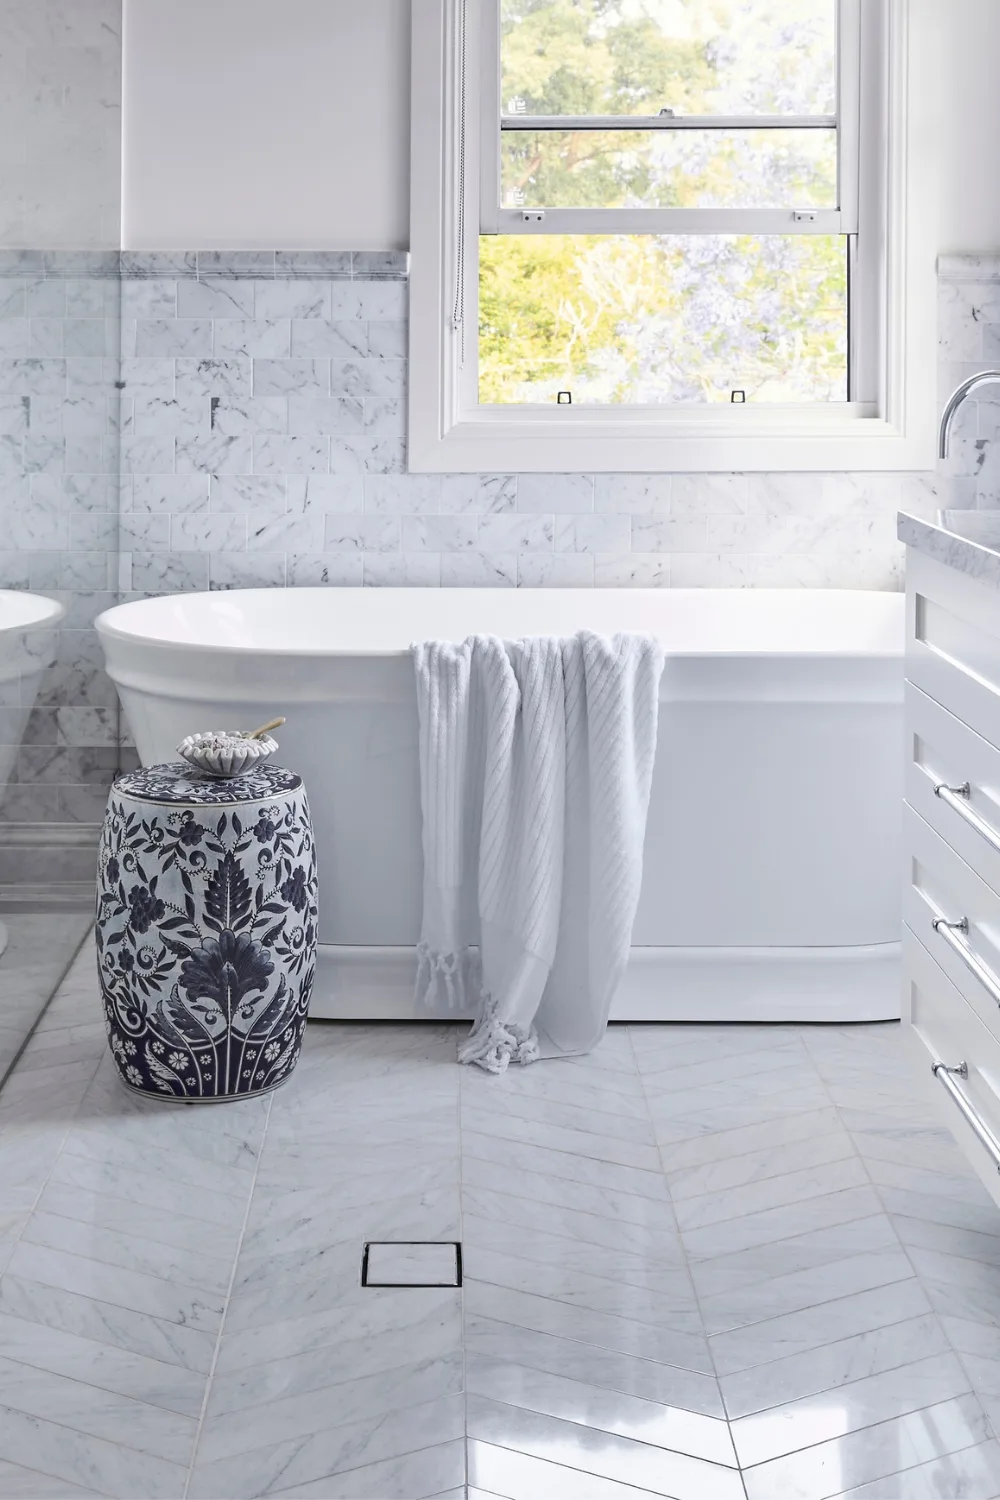
All of these patterns will look different when used with coloured tiles – any number of combinations are possible and it’s fun to play around on an app or design software if you’re looking to step away from a basic pattern to get an idea how it will look.
Tips for buying tiles
A plain pattern will be straightforward when calculating how many tiles you need to cover your wall or floor space. A more complicated design may require the help of a professional, however, so once you’ve measured up and have an idea of what you need to buy, take your room measurements into the showroom and enlist the help of your supplier to double-check your measurements. Always buy extra tiles to allow for breakages and keep an eye out for sales throughout the year to help stretch your renovating budget. For example, right now Beaumonts has an early Tax Break with up to 50% off all tiles across their entire range.
Take other design elements to the showroom such as tapware, paint colours and flooring samples. You can then build your visual story right there and see how it will all look together. Always ask the experts for their input – both in the design and the practical considerations of your choices – tap into their knowledge of new product releases, specialty treatments and design inspiration.
