In an age of mass-produced, flat-pack furniture, it’s never been easier to get brand new furniture shipped to your doorstep. While convenient, relatively affordable and on-trend, these furniture pieces can sometimes feel flimsy and unoriginal. The antidote? Upcycled furniture. The second-hand market is an amazing place to score solid wood furniture or a totally unique item that will make your home stand out.
While there are thousands of hidden gems waiting to be found in op shops, vintage stores, Facebook Marketplace, Gumtree, garage sales, by the side of the road or even in nan’s garage, sometimes second hand furniture just isn’t in great condition or looks downright outdated. Renovating furniture is one way to bring unloved pieces into the 21st Century.
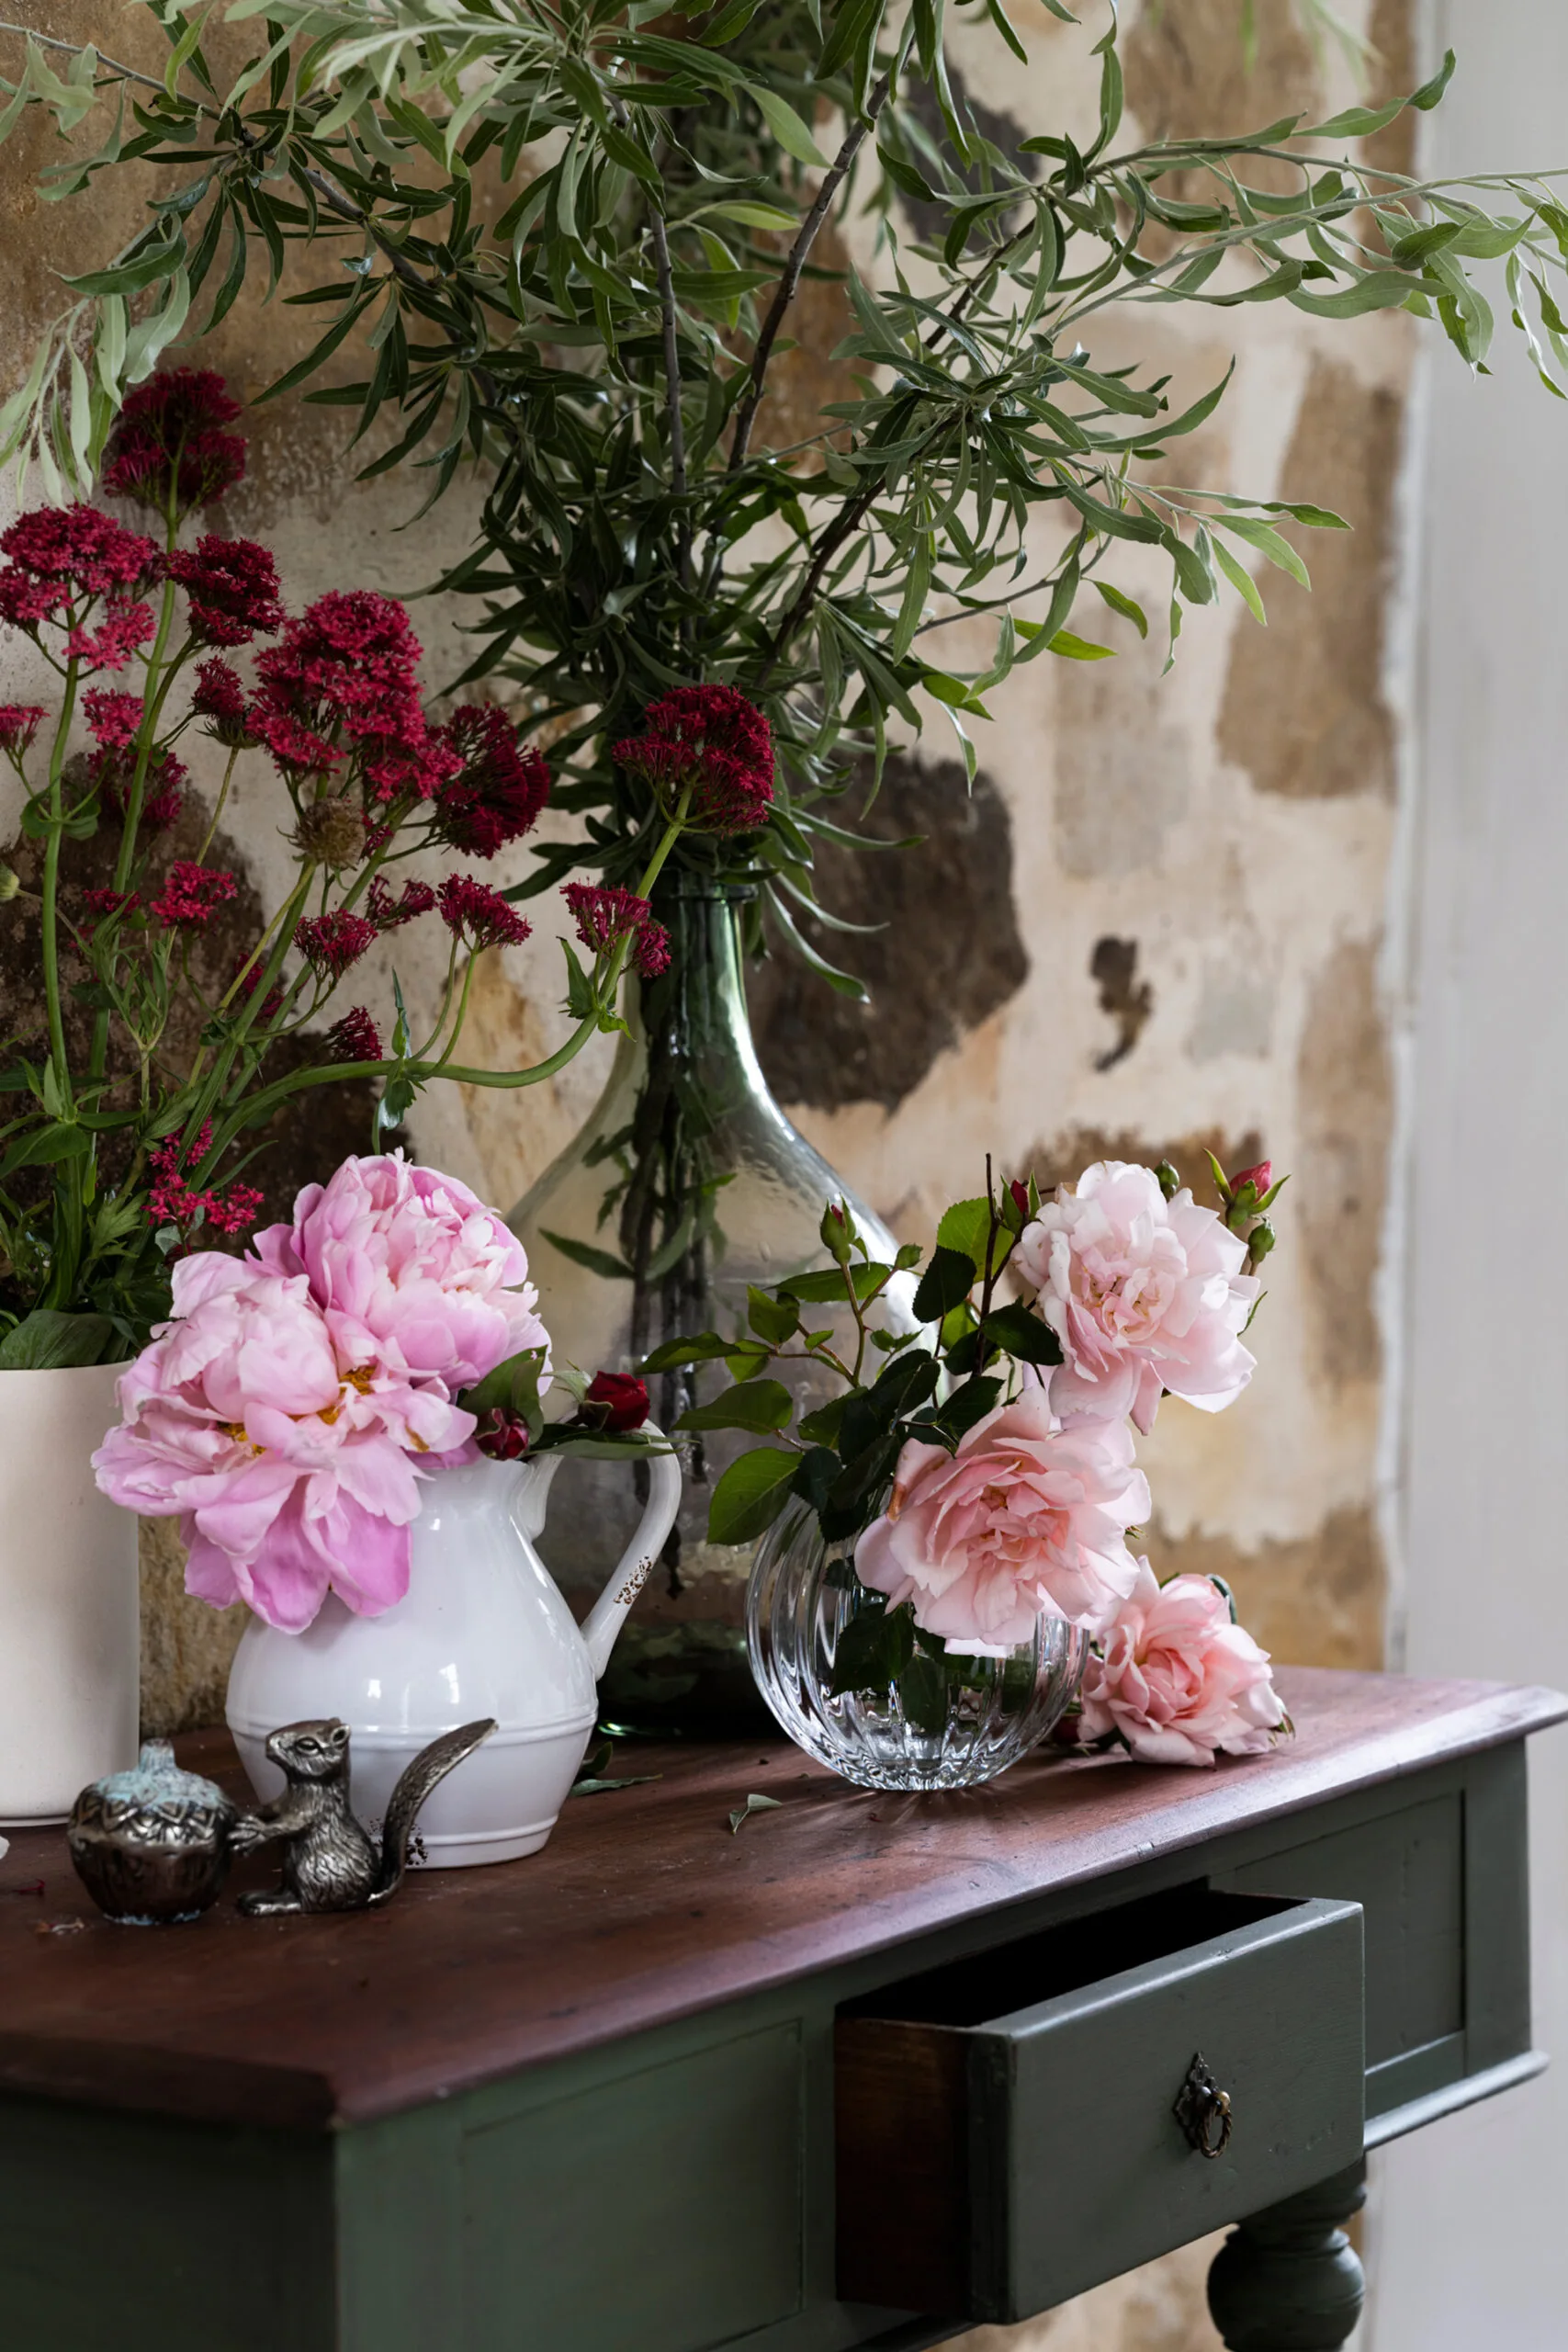
Painting furniture can give unloved furniture new purpose. (Credit: Photographer: Brigid Arnott | Styling: Jodie Gibbons)
Here, we speak to the experts to find out: how to get started upcycling furniture, which pieces of furniture are best for upcycling, the equipment you’ll need as well as all the expert tips you’ll need to make your project a success. We also took a deep dive through Instagram to bring you 5 amazing upcycled pieces to inspire your next project.
Why upcycle furniture?
Upcycling expert and founder of Bird on the Hill Designs and The Vintage Bird Furniture Paint, Corrina Lindsay, says “I love the thrill of taking something that nobody wants or has a desire to use anymore and making it not only beautiful, but useful again. Some people are aghast when older pieces are painted, but if it means they are going to be treasured again in someone’s home, I think that’s better than being left in original condition and not utilised.”
DIY blogger and author Geneva Vanderzeil of Collective Gen says upcycling furniture is a passion. “It’s all about seeing past the superficial details or the imperfections and really looking for the bones of a piece. A bad coat of paint or yellowing varnish never gets in the way for me!”
Some have even managed to turn their passion for upcycling furniture into a lucrative side hustle!
How do I get started upcycling furniture?
To get started, you’ll need three basic pieces of equipment. “I keep my own toolkit very simple,” says Corrina. “The essentials are: a couple of good quality nylon bristle brushes, a paint stirrer and a small range of sanding paper.” Other items she likes to keep on hand include baby wipes (“as they fix issues like runs and drips quickly”) and a good brush-cleaning gel, which can double as furniture degreaser.
Then it’s just a matter of finding something to upcycle! Gen recommends that beginners “Pick something easy like stripping and staining and then you can challenge and experiment as your skills improve.”
There’s one thing both the experts agree on: just get started! “If you don’t like the way something turns out, it’s just paint – you can always change it!” says Corrina.
What types of furniture are best for upcycling?
Corrina says there’s no need to limit yourself to updating solid wood furniture. “If something takes your fancy, give it a go! Most surfaces can be painted with the right preparation, including melamine, metal and veneer.”
Gen, on the other hand, says she likes to look for pieces with good bones. “I make sure to look for lines, hints of various eras or aesthetics that could be uncovered and made to shine.”
Choosing furniture paint
When renovating her 110-year-old farmhouse, Corrina developed two types of furniture paint using techniques her father taught her as a teenager. The products, now known as The Vintage Bird mineral paint, and The Vintage Bird milk paint, were designed especially so that beginners could update furniture with minimal equipment.
“The best features of our paint are that it dries fast (so you can start and finish a small project in a few hours), it’s water based and non-toxic,” says Corrina. “There’s literally no odour, meaning no yucky paint smells. It’s self-levelling, and self-sealing, meaning it dries to a smooth finish without needing sanding between coats like many other furniture/chalk paints on the market do.”
As for paint colours, Corrina says lately she’s been noticing people opting for deep, bold colours such as rich greens, blues and teals. “Black painted furniture is also very popular, and our ‘Black Cat’ paint is one of our all-time best-sellers.
How to repaint furniture in three steps
Corrina says repainting furniture can essentially be broken down into three simple steps:
- Prepare: Clean the item, sand it, clean it again
- Paint: Apply paint in thin coats to prevent drips, streaks and future chips
- Protect: Seal the paint to protect it long-term using either an oil, clear paint coat or wax paste
Staining wood
Another alternative to painting furniture is restoring the wood and re-staining it, says Gen. “I’m really enjoying experimenting with wood and stain. I just love the texture and wholesomeness of wood, being able to give it a dark and moody tone using black stain or a gorgeous warm feel using brown stain – it’s just so satisfying!”
She recently gave an old art-deco cabinet, which she nicknamed ‘Beatrice’, a new lease of life using Feast Watson Prooftint in the shade ‘Black Japan’. The project took her a day to complete. “There are a few stages involved with wood restoration, including stipping, sanding, staining and sealing,” says Gen.
Finishing touches
Once your creation is painted (or sealed) and dried, the next phase is the finishing touches, including handles. Gen says she often sources handles and hardware from Kethy, Passio and Hepburn. But for Beatrice, she made her own set of wavy handles using a wooden wine-rack she purchased at Bunnings.
Other great places to shop for affordable handles include Etsy, Amazon and even Kmart, who recently launched their new DIY range.
Furniture upcycling is a great way to save a perfectly good piece of furniture from landfill, but that’s not its only benefit. It’s also an excellent way to update your home on a budget and experience the satisfaction of starting and finishing a creative project. “Painting is also amazing therapy,” says Corrina. “It’s a rhythmic process, and I say when I’m painting, I’m in my happy place.”
Of course, the DIY route is not for everyone and some of us would rather skip to the end game, secondhand vintage furniture stores are on the rise, with furniture quality, availability and e-commerce offerings improving all the time.
5 furniture upcycling projects to inspire
1. Cedar chest of drawers
Furniture upcycler Anna Pinton of @the_odd_chair_studio gave this old cedar chestof drawers a subtle revamp. She sanded away the old varnish and gave it a coat of The Vintage Bird Furniture Paint in the shade ‘Cocoa’ before sanding it back ever-so-slightly to achieve a rustic, lived-in look.
2. Dreamy drawers
“It was in terrible shape and I never thought it could come up so nice,” say Nina and Rhys of @butchandbulldog when they set out to restore this art-deco chest of drawers. It had been painted a shade of tomato red that had become dirty and worn over time. To say it was in desperate need of a refresh is an understatement. They stripped off all the old paint and sanded back the rest before sealing it in Feast Watson hard wax to bring out the wood’s natural beauty.
3. Bedside tables
When Gold Coast furniture upcycler Kim Amery of @restorereviverepeat found this pair of boho-inspired bedside tables, she saw past all of the imperfections and wear-and-tear and focussed instead on the beautiful textured drawer fronts. First, she filled all of the gaps, sanded them back then primed and painted with The Vintage Bird Furnitre Paint in the shades ‘Bone China’ and ‘Retreat’.
4. Beatrice the cabinet
Blogger, DIY-er and author Geneva Vanderzeil is no stranger to a stunning furniture flip. She spotted this old cabinet gathering dust in a tip shop and knew it had potential. After stripping and sanding away the original finish, she gave the cabinet a coat of Feast Watsin Prooftint in the shade ‘Black Japan’ to create a moody and decidedly modern piece of furniture to fawn over.
5. Colourful and contemporary
Noosa up-cycler Jaharn of @smorhome gave a $10 cabinet a colourful makeover using Dulux paint in the shade ‘Terracotta Chip’. First on the agenda? Removing the cabinet’s telltale dated features by cutting off the curved lip and replacing the country-revival door fronts with a modern arched design. She then finished the look by restoring the original door knobs and spray-painting the faded hinges gold.
