Creating a feature wall is one sure-fire way to breathe new life into a room that’s a little down on its decorative looks.
It’s easy on the wallet, as you’re not dealing with a whole room; easy on the skill set (paste-the-wall paper and painters’ tape are your friend, here); easy to change if you want an update and, when done right, certainly easy on the eye. Here’s what you need to know.
1. Pick the best space
It should be the first surface your eye falls when you enter the room, and preferably one that offers a fairly large expanse, unbroken by windows or doors. Think zones; in an open-plan living/dining space, a feature wall can, for example, draw the focus to the dining table.
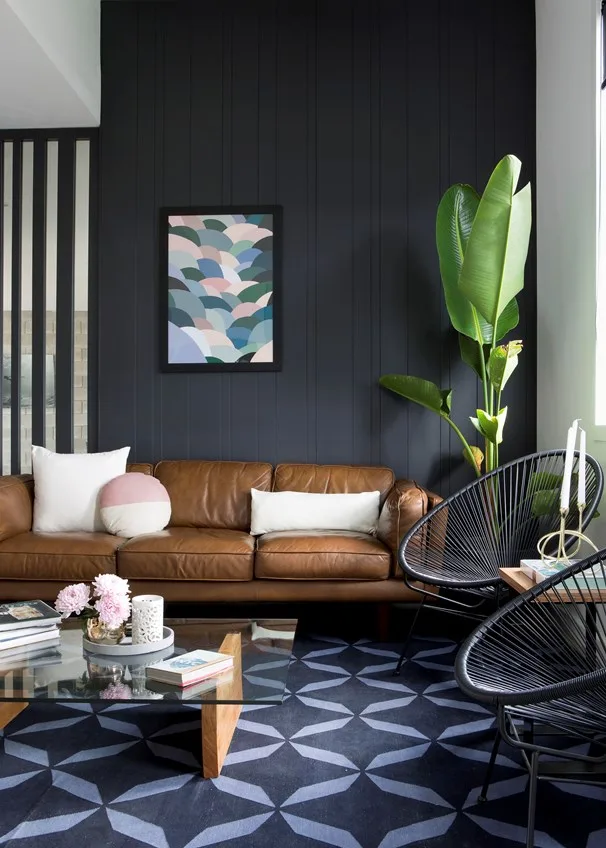
2. Turn to paint
The classic feature wall, and one of the easiest to complete, the only thing the painted wall needs is an eye-catching colour and a neat finish. Rich, deep hues are having a moment, while dusty pastels with a hint of black give a warm, sophisticated look. Whichever you choose, make sure the surface you’re covering is as unblemished as you can make it; fill any holes with filler and sand back for a smooth finish. Matt paint is more forgiving than satin or gloss if there are a few bumps.
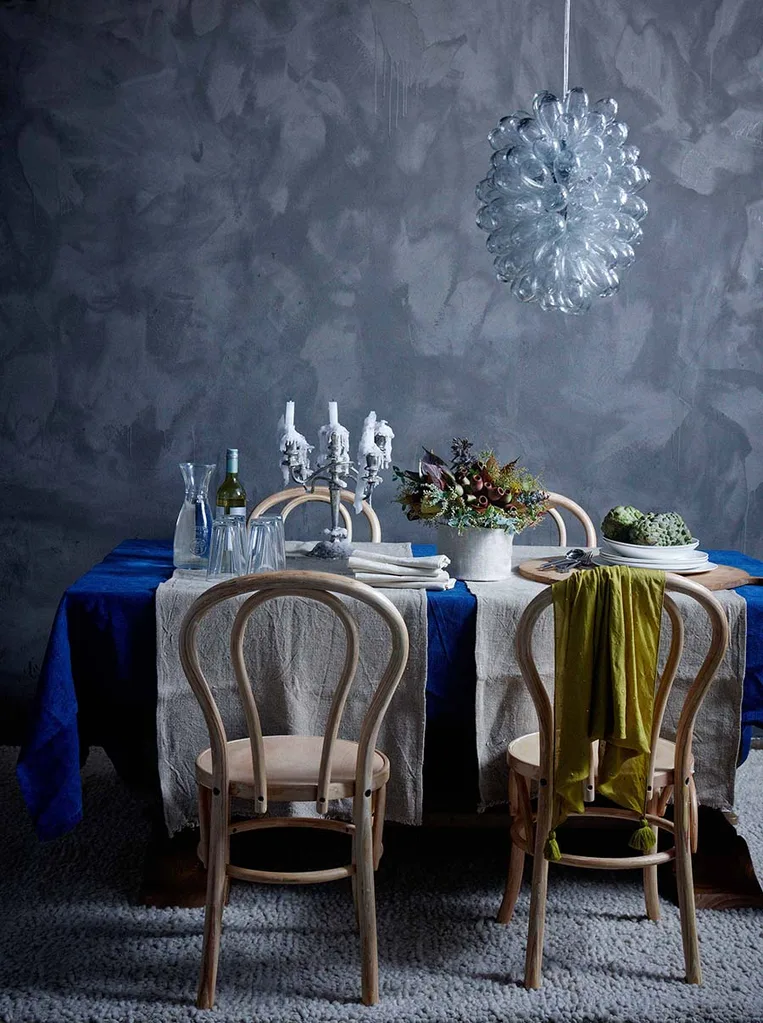
3. Plump for an eye-catching finish
Textured paints – such as metallics, suede effects and stone looks – are now readily available. Some are trickier to apply than others, so be sure to check the instructions on the tin before you buy, and follow them carefully if you commit. Ensure the finish is as professional as you can make it; don’t stint on the coats so there’s no patchy show through, and use painters’ tape for razor-sharp edging.
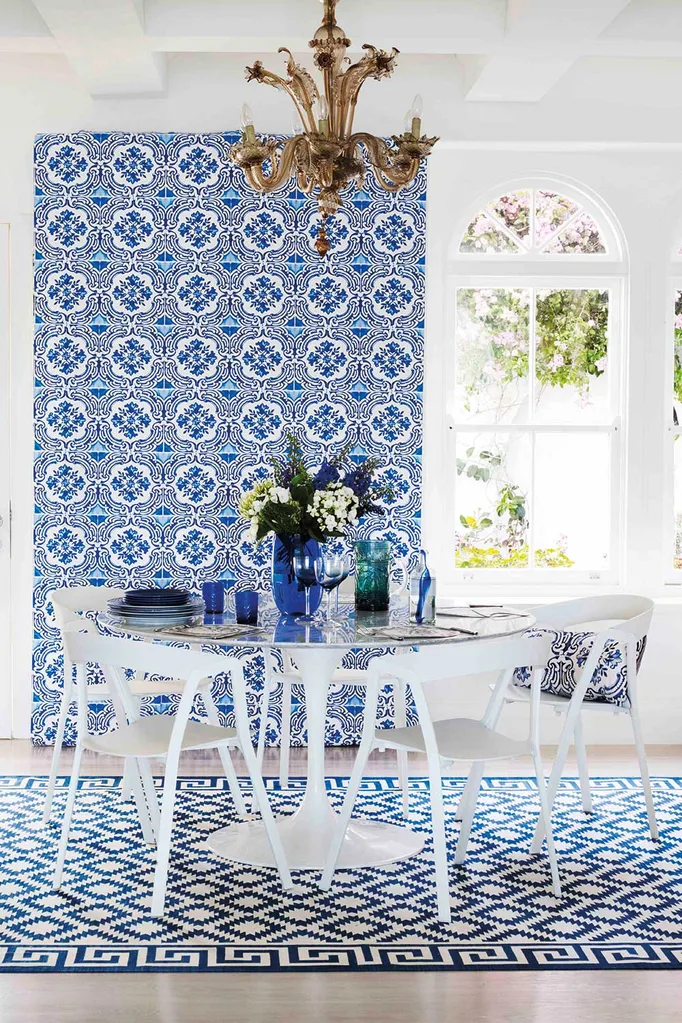
4. Paper it
There’s so many gorgeous wallpapers around, you’re spoilt for choice, but it’s a great way to make a splash. For expensive wallcoverings, it’s best to call in the professionals, but paste-the-wall coverings are a relatively straightforward DIY job. It’s important to match edges carefully in a patterned paper, and to ensure you don’t end up with a thin strip in the corner. Look online for wallpaper-hanging videos for help if you’re unsure, and ask your supplier to work out the room size for you to make sure you have enough to finish the job.
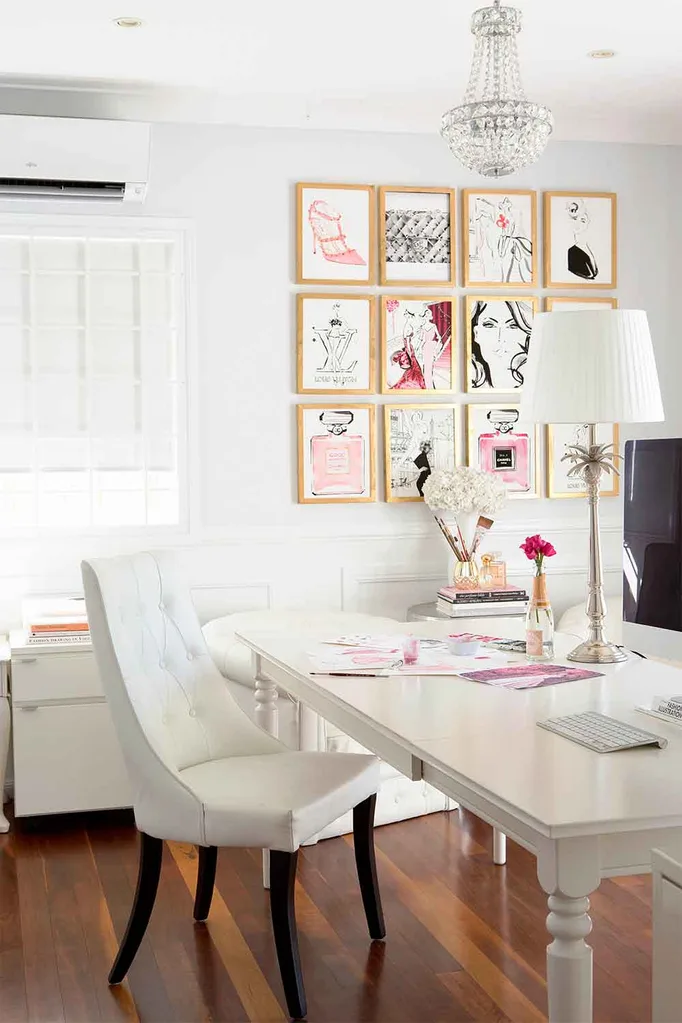
5. Create a gallery
A statement-making collection of art or photos might be all you need for a fantastic focal point. Stick to frames in just two or three colours to give a cohesive effect. The secret to success is to work out the arrangement before you start hanging the real thing. An easy way to do this is on the floor – you can play around with your arrangement to your heart’s content until you get the look you love. Otherwise, cut paper templates of your pieces and position them on the wall with blu tack till you have the right effect; then hang each piece in place, removing the templates as you go and positioning the works the same distances apart to give your arrangement a holistic feel.
You might also like:
Seven wondrous wallpapers to use in your home
 John Downs
